In short: measure your vertical jump with a CMJ with hands on hips, 3 trials, always under the same conditions. Add a drop jump to get contact time and RSI. To improve, combine strength (squat, lunges, deadlift) and plyometrics (jumps, bounds), 2 to 3 sessions per week, and retest every 2 to 4 weeks.
Vertical jump is one of the best field indicators of explosiveness: the ability to produce a lot of force in very little time. Basketball, volleyball, soccer, rugby, sprinting, return-to-sport rehab: tracking it lets you validate a program, spot fatigue and objectively assess a return to play. But the measurement has to be reliable.
How do you measure your vertical jump?
Three jump tests cover the essentials. Each tells you about a different quality:
| Test | Execution | What it measures |
|---|---|---|
| CMJ (countermovement jump) | Standing, hands on hips, quick dip then maximal jump | Overall explosiveness, use of elasticity |
| Squat jump (SJ) | Still start with knees bent at 90°, jump with no countermovement | Pure concentric strength |
| Drop jump (DJ) | Drop from a 30 cm box, immediate rebound as high and as fast as possible | Reactivity: contact time and RSI |
The protocol for comparable numbers: identical warm-up, 3 trials per test, 30 to 60 seconds of rest, land with straight legs, same surface and same shoes. Record the average of the trials: it is more sensitive than the best trial for tracking readiness[1].
What tools can you use to measure your vertical jump?
A wall mark and a vane-style jump tester measure a reach height, arms included: simple, but not very precise and with no ground contact data. Video apps are precise but require filming every jump. Force plates are the lab gold standard, but they are sold on quote and often by subscription[8].
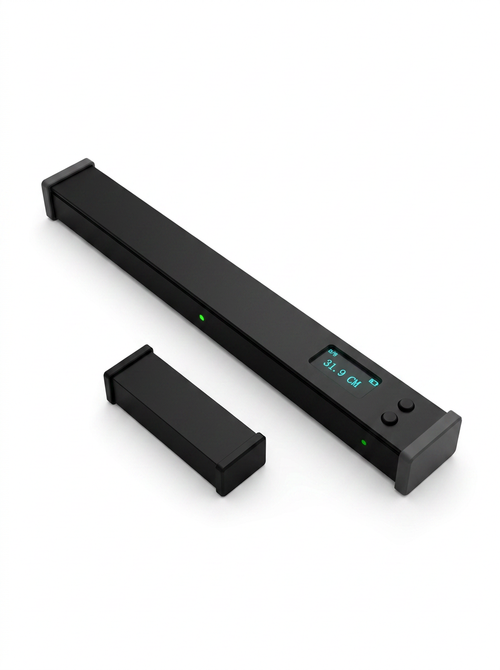
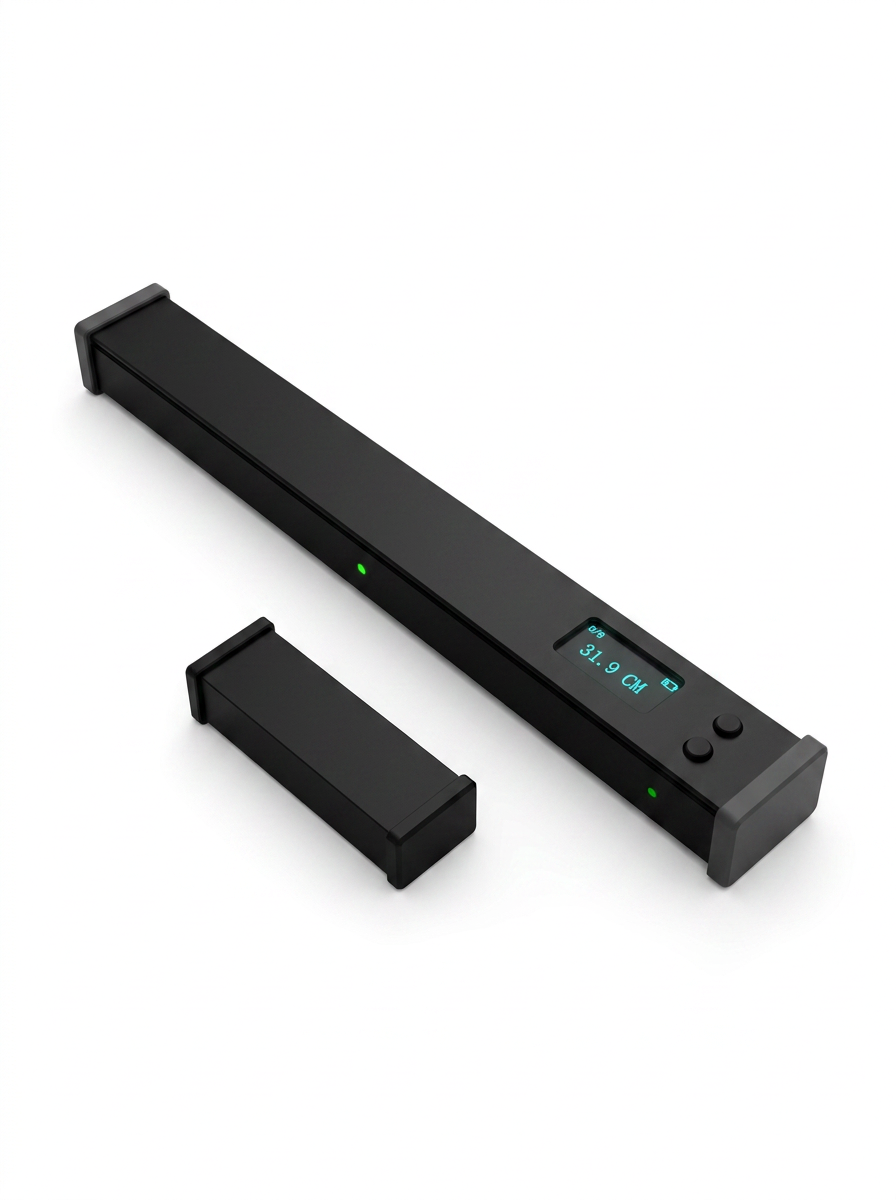
In between, infrared bars measure flight time and contact time to the millisecond. The Jump Gate uses this principle at 1,000 Hz: you place the two bars on the ground, you jump, and the height appears on the built-in screen. No calibration, no phone required. To compare solutions, read our Optojump and alternatives comparison, and for the calculation itself, our article on calculating vertical jump height.
How to read your results: height, contact time, RSI
- CMJ height: the main indicator. To see where you stand, check our table of average vertical jump by age and by sport.
- The CMJ – squat jump gap: it shows what you gain from the countermovement. Be careful, a large gap is not always a good sign: it can also reflect a lack of starting strength[2]. Read it with the SJ, not on its own.
- Ground contact time (drop jump): the shorter it is for the same height, the more reactive you are. Fast rebounds are generally under 250 ms[3].
- RSI (height ÷ contact time): jumping high and fast. It is measured very reproducibly from 30 cm[4].
Jump-to-jump variability is 2.4 to 4.6% depending on the test[5]. On a 40 cm jump, a difference of less than 1 to 2 cm between two sessions should therefore be confirmed before being interpreted as progress.
How many centimeters before progress is real?
A Spanish fourth-division basketball team tracked its players over an entire season: 1,574 CMJs measured on a contact mat, 3 jumps before each practice[6]. On the average of the 3 jumps, variability was 2.2% and the smallest detectable change was 2.3 cm, or 6.1% of the mean jump height (38.5 cm). Players also jumped 2 to 2.5 cm lower in preseason than during the season.
Here is what this 6% threshold looks like at different levels:
| Starting jump height (CMJ) | Difference to confirm before concluding |
|---|---|
| 25 cm | about 1.5 cm |
| 35 cm | about 2.1 cm |
| 45 cm | about 2.7 cm |
| 55 cm | about 3.3 cm |
This threshold applies to a strict protocol and the same device. Below it, repeat the test the following week before drawing conclusions.

What mistakes skew vertical jump measurement?
- Tucking the legs in the air: the athlete stays airborne longer and flight time overestimates height. A simulation puts the error at about 18% for a 30 cm jump if the ankle is flexed on landing[7]. Cue: land with straight legs, toes first.
- Changing the protocol: free arms one day, hands on hips the next. Arm swing adds several centimeters.
- Testing while fatigued: a test after a heavy session measures fatigue, not potential. That is useful for tracking recovery, as long as you know it.
- Comparing two methods: a force plate number calculated from impulse is not comparable to a flight time number.
How do you improve your vertical jump?
Vertical jump depends on two qualities: strength (how much force you can produce) and the rate at which you produce that force. An effective program trains both.
The strength base
Squat, lunges, Romanian deadlift, box step-ups: 3 to 5 sets of 3 to 6 reps, heavy load, movement performed with intent to move fast. Without a strength base, plyometrics quickly plateau.
Plyometrics
Box jumps, tuck jumps, bounds, drop jumps. Moderate volume, maximal quality, full recovery between sets. Stop as soon as height or contact time deteriorates. A practical benchmark with a device that measures RSI: when it drops clearly (for example by more than 10%) compared with the first jumps of the session, the next set trains fatigue rather than explosiveness.
Technique
A quick, not-too-deep dip, full extension of hips, knees and ankles, core bracing. For a jump with an approach, arm action can add several centimeters.
An 8-week program
| Weeks | Priority | Sample content (2 to 3 sessions/week) |
|---|---|---|
| 1 | Baseline test | CMJ, SJ, drop jump 30 cm |
| 1–3 | Strength | Squat 4×5, lunges 3×6, box jumps 4×5 |
| 4 | Retest | CMJ + drop jump, adjust loads |
| 4–7 | Strength-speed and plyometrics | Light jump squat 4×5, drop jumps 4×5, bounds 3×6 |
| 8 | Taper and final test | Volume cut in half, full test at the end of the week |
In return-to-sport rehab, the same framework applies with loads and heights adjusted by the practitioner. Powereact equipment is a training and measurement tool, not a medical device.
How do you track your progress?
Retest every 2 to 4 weeks, with the same protocol. The Powereact app, free and with no subscription, keeps each athlete's history, plots progress curves and exports data to PDF or CSV. To also train reactivity, the Explosiveness Pack combines the Jump Gate with reaction lights.
Frequently asked questions
How many inches can you add to your vertical jump?
It depends on your starting level: a beginner progresses faster than an already trained athlete. Measure every 2 to 4 weeks rather than aiming for a number in advance.
How often should you test your vertical jump?
A full test every 2 to 4 weeks is enough to steer a program. A quick CMJ at the start of a session can also help spot fatigue.
Should you wear shoes to measure your vertical jump?
Yes, and always the same ones. Changing shoes or surface changes the result.
Is the CMJ done with or without arm swing?
The reference CMJ is done with hands on hips, to isolate the work of the legs. You can test with arm swing as an extra, but never compare the two.
Sources (accessed October 10, 2026)
- Claudino et al. (2017), Journal of Science and Medicine in Sport
- Kozinc et al. (2022), European Journal of Sport Science
- Flanagan & Comyns (2008), Strength and Conditioning Journal
- Flanagan, Ebben & Jensen (2008), Journal of Strength and Conditioning Research
- Markovic et al. (2004), Journal of Strength and Conditioning Research
- Biel-Costa et al. (2024), International Journal of Exercise Science
- Gonçalves et al. (2024), PeerJ
- VALD — pricing model