Quick answer: to improve reaction time, expose yourself to unpredictable signals, gradually add a choice (which target?), movement and fatigue, and measure every rep. Two to three short sessions a week, 10 to 20 minutes each, are enough to track progress over six weeks. What improves the most: choice reaction time. Simple reaction time barely moves[1].
Reaction time is the delay between a signal appearing and the start of your response. In sports, reaction is rarely “simple”: a defender first has to identify the right signal, then choose a direction, then move. That whole chain is what you need to train if you want to improve reaction time. The more choices there are, the longer the delay: that’s Hick’s law[2]. That’s why decision-making work matters as much as foot speed. To put your numbers in context, see our article on average reaction time by age and by sport.
Can you really improve your reaction time?
Yes, to a point. Simple reaction time barely changes. A Japanese study showed it clearly: two years of baseball did not change high school players’ simple reaction time, but it did shorten their “go/no-go” reaction, the one where you decide whether to swing or not[1]. Experienced karate athletes don’t react faster than novices to a simple signal, but they are clearly faster when they have to choose[3].
In other words, everything around the reflex can improve: spotting the right signal earlier, ignoring distractors, anticipating, linking the response without hesitating. That’s where tenths of a second are won in a game.
With reaction lights, published results are encouraging but mixed. In 20 young basketball players, a program with lights improved visual reaction time by 23 to 31%, more than in the control group[4]. In 38 young soccer players followed for 6 months, the lights group improved, but no more than the group doing regular training[5]. The lesson: the tool isn’t enough, the program is what counts.
Three conditions make training effective:
- An unpredictable signal. If the athlete knows when and where the signal will appear, they’re no longer training reaction, they’re reciting a pattern.
- A measurement on every rep. Without a number, there’s no way to know whether the athlete is improving or just repeating.
- Increasing difficulty. More targets, distractors, movement, fatigue: one variable at a time.
5 drills to improve reaction time, from simplest to most demanding
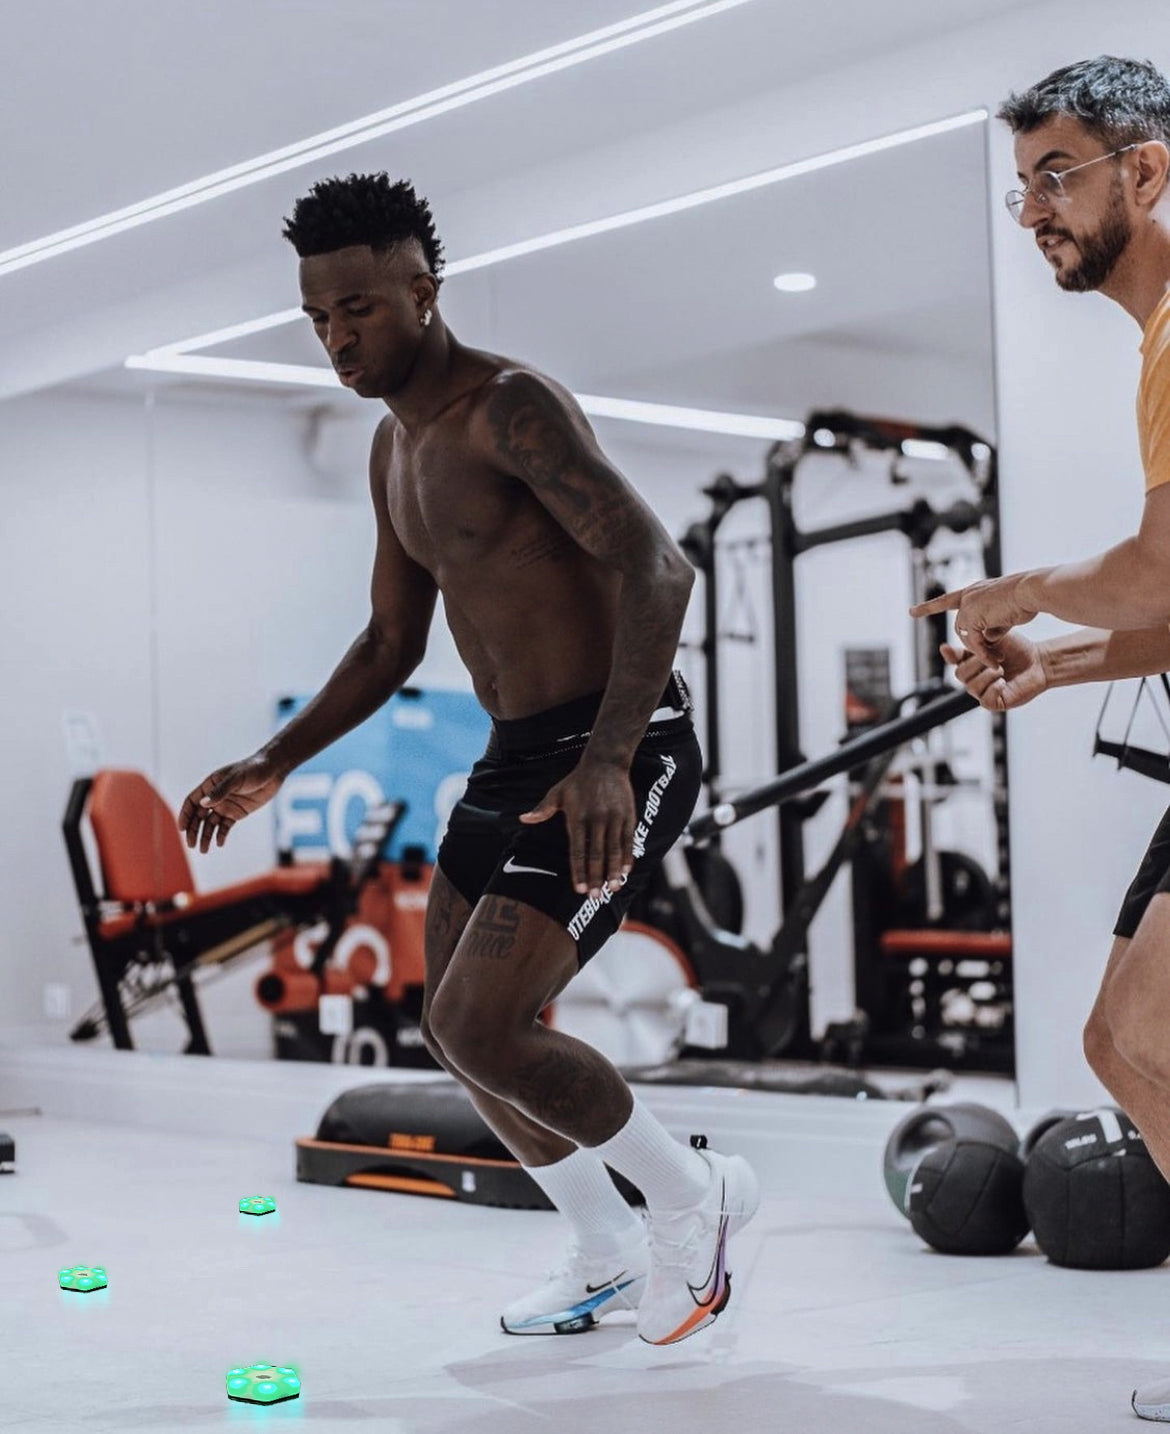
All the drills below are done with reaction lights that light up at random and time every response to the millisecond. They’re listed in order of progression.
1. Simple reaction: the foundation
Setup: 4 lights on the floor in a 1 m square, or mounted on the wall at chest height. One color only.
Instructions: as soon as a light turns on, turn it off as fast as possible, with hand or foot, then return to the center.
Dosage: 3 sets of 20 seconds, 40 seconds of rest.
What to watch: the average time and the gap between the best and the worst rep. A narrowing gap signals more stable attention.
2. Choice reaction: add the decision
Setup: 4 to 6 lights, two colors. Example: green = touch, red = do nothing.
Instructions: react only to the target color. Every response to the wrong color counts as an error.
Dosage: 4 sets of 30 seconds, 45 seconds of rest.
What to watch: the time and the error rate. An athlete who gains 30 ms while doubling their errors hasn’t improved: they gambled.
3. Movement and reaction: get closer to the field
Setup: 4 to 6 lights in a star pattern, 3 to 5 m from a central point.
Instructions: start from the center, turn off the lit light, return to the center before the next signal.
Dosage: 4 to 6 sets of 20 to 30 seconds, 1 minute of rest (the effort is intense).
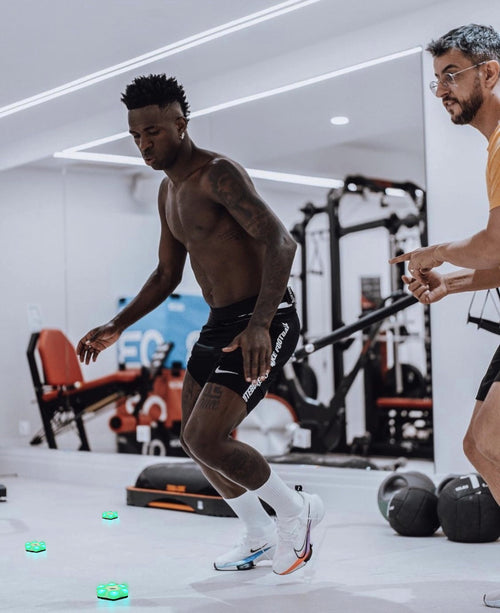
Sport-specific variations: in soccer, turn the light off with the foot then make a pass; in basketball, use defensive slides in a defensive stance; in tennis, with the racket in hand and a crossover-step return to the center.
4. Reaction under fatigue: stay sharp late in the game
Setup: same setup as drill 3.
Instructions: 20 seconds of intense effort (short sprints, burpees, high knees), then go straight into 20 seconds of reaction work.
Dosage: 4 to 5 sets, 1 min 30 s of rest.
What to watch: the gap between the “fresh” average time (drill 3) and the average time under fatigue. Shrinking that gap is often more useful in a game than gaining a few milliseconds at rest.
5. Head-to-head: pressure from an opponent
Setup: two athletes facing each other, each with 2 to 3 lights, or a shared game in multiplayer mode.
Instructions: whoever turns the light off first scores the point. Play to 10 or 15 points.
Dosage: 3 rounds, 1 minute of rest.
Why it works: competition increases engagement and adds game-like stress. It’s also the drill youth groups ask for.
What does a 6-week program look like?
Two to three sessions a week, ideally early in the session, after the warm-up and before fatigue sets in (except drill 4, which is deliberately placed at the end of the session).
| Weeks | Drills | Duration | Goal |
|---|---|---|---|
| 1–2 | 1 and 2 | 10 min | Establish baseline times, learn the instructions |
| 3–4 | 2 and 3 | 15 min | Add decision-making and movement |
| 5 | 3 and 4 | 15–20 min | Maintain reaction quality under fatigue |
| 6 | Drill 2 test + head-to-head | 15 min | Compare with week 1 times |
Always repeat the same baseline test (same number of lights, same distance, same instructions) in week 1 and week 6. If you change the setup, you’re no longer comparing anything.
How do you measure reaction time progress?
Three numbers are enough to guide the work:
- Average time over the set: the main indicator.
- Best time: the potential of the day.
- Error rate (drill 2): the quality of the decision.
Two simple calculations, based on those numbers, then tell you where to work:
| Indicator | Calculation | Example | Interpretation |
|---|---|---|---|
| Cost of decision | Drill 2 average time − drill 1 average time | 520 − 390 = 130 ms | The lower it goes, the faster the athlete chooses |
| Cost of fatigue | Drill 4 average time − drill 3 average time | 780 − 690 = 90 ms | The lower it goes, the sharper the athlete stays |
| Consistency | Worst rep − best rep | 610 − 340 = 270 ms | A narrowing gap signals more stable attention |
The values in the example are made up: they depend on the number of lights, the distance and the instructions. If the cost of decision drops while simple reaction stays flat, the program is working: that’s precisely the trainable part.
The Powereact app records this data for each athlete, keeps the history and exports it as PDF or CSV. It’s free with no subscription: all programs are included. If you’re torn between several reaction light systems, our comparison with BlazePod details the differences in price and subscription.

What mistakes should you avoid?
- Sets that are too long. Beyond 30 to 40 seconds of effort, you’re training endurance, not reaction speed.
- A predictable lighting order. Always use a random mode.
- Ignoring errors. A fast time obtained by guessing has no value.
- Changing everything every session. Keep one fixed baseline drill to measure.
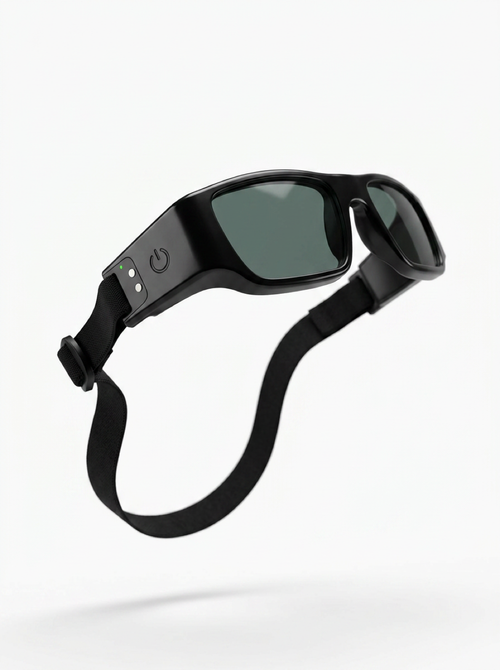
To go further on visual perception, strobe glasses pair well with drills 2 and 3: you reduce visual information to force anticipation. The Perception Pack (from €448.99) combines lights and glasses; our article on what the science says about stroboscopic training details the protocol. And to choose your equipment, read our guide to reaction lights for sports.
Also in our reaction and reaction lights series
Frequently asked questions
How long does it take to improve reaction time?
Studies with reaction lights use programs lasting from several weeks to 6 months[4][5]. Plan on at least a few weeks of regular practice (2 to 3 sessions a week) to see a clear change on a choice reaction test. Progress depends on the starting level and consistency: measure rather than guess.
What is the best drill to improve reaction time?
Choice reaction (drill 2) gives the best return on time: it combines speed and decision-making, which is closest to game situations. Then add movement.
How can I improve my reflexes without equipment?
With a partner giving signals (called-out colors, a dropped ball, a ruler to catch), but a human signal quickly becomes predictable and nothing is measured. Reaction lights bring randomness and timing to the millisecond.
Do video games improve reaction time?
Partly. A review published in 2009 shows that action video game players respond faster on laboratory tasks, without losing accuracy[6]. Transfer to whole-body reaction with movement is much less documented: on the field, you have to train it in that situation.
Sources (accessed October 10, 2026)
- Kida, Oda & Matsumura (2005), Cognitive Brain Research: baseball, simple and go/no-go reaction
- Hick (1952), Quarterly Journal of Experimental Psychology
- Mori, Ohtani & Imanaka (2002), Human Movement Science: karate athletes
- Hassan, Alhumaid & Hamad (2022), Sports: young basketball players, FITLIGHT
- Theofilou et al. (2022), Sensors: young soccer players, 6 months
- Dye, Green & Bavelier (2009), Current Directions in Psychological Science